Snapchat Ads are full-screen digital advertisements that businesses can use to reach a highly engaged audience on the Snapchat app. Snapchat Ads can help businesses:
The integration of MoEngage and Snapchat Ads allows you to synchronize your audience segments on MoEngage with Snapchat. This enables the creation of highly targeted advertising campaigns tailored to specific end users.
The integration with MoEngage helps you with the following use cases:
Elevating user interaction and sales on Snapchat : By leveraging detailed user insights from MoEngage, you can identify and direct campaigns towards your most valuable customer segments on Snapchat.
Reactivating dormant users via Snapchat : You can engage individuals who have shown reduced interest in your regular marketing efforts by delivering personalized display advertisements directly on Snapchat.
Maximizing your Snapchat Ad budget : You can refine your advertising expenditure by forming suppression lists within Snapchat Ads.
Streamlining new customer growth on Snapchat : You can build powerful lookalike audiences within the Snapchat Ads platform.
Snapchat business account : To use this feature, you must have an active advertising account with Snapchat and an Ad account to use the marketing APIs.
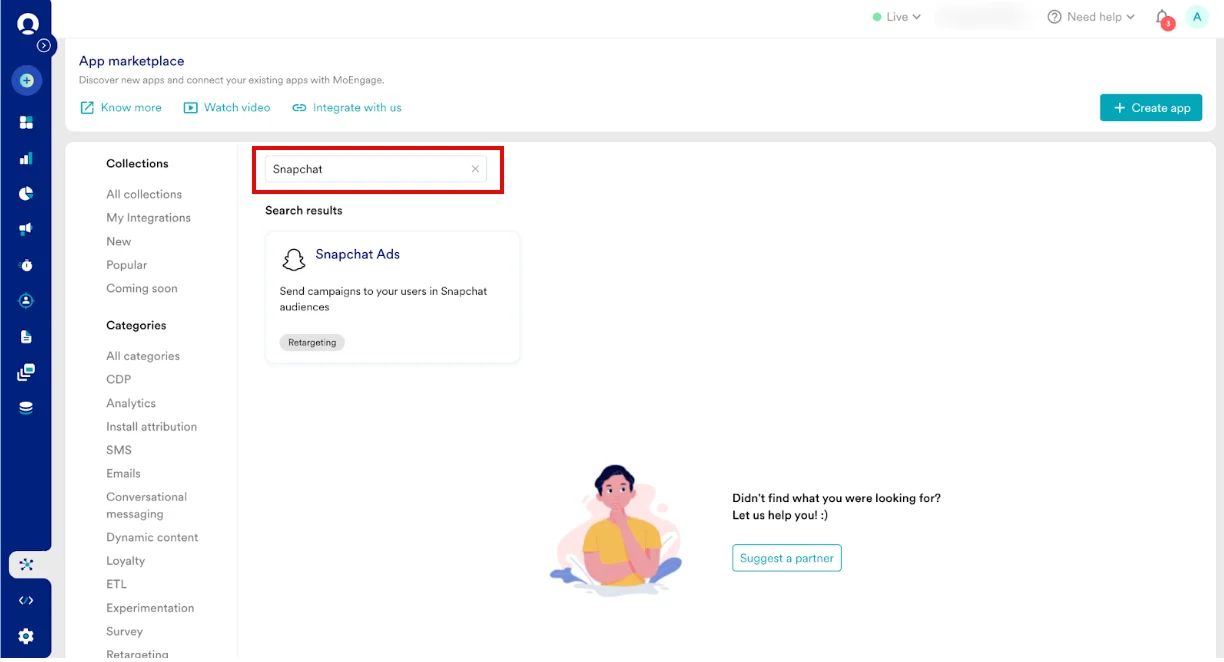
Snapchat’s marketing APIs : Use Snapchat’s marketing APIs to sync audiences or users to Snapchat Ads through MoEngage. You can use your existing app and Ad account or create a new one to connect with MoEngage. To access Snapchat’s Marketing API, ensure you have an active Snapchat Business account.
Snapchat Ads is part of the Connected Segments add-on. Contact your dedicated MoEngage CSM (customer success manager) to enable it for your account.
Click the menu in the upper-left corner and select Business Dashboard , then select Business Details.
Click +OAuth App.
Agree to the terms and conditions to activate access.
Click Save.
To connect MoEngage to your Snapchat App configuration, type the specific URL in the Snap Redirect URI box based on the following MoEngage data center:\
If you want to add or remove users from an existing Audience on Snapchat, you must provide the Audience ID. You can view the audience on Snapchat by navigating to Snapchat Ads Manager:
Click the menu in the upper-left corner > Assets and select Audiences.
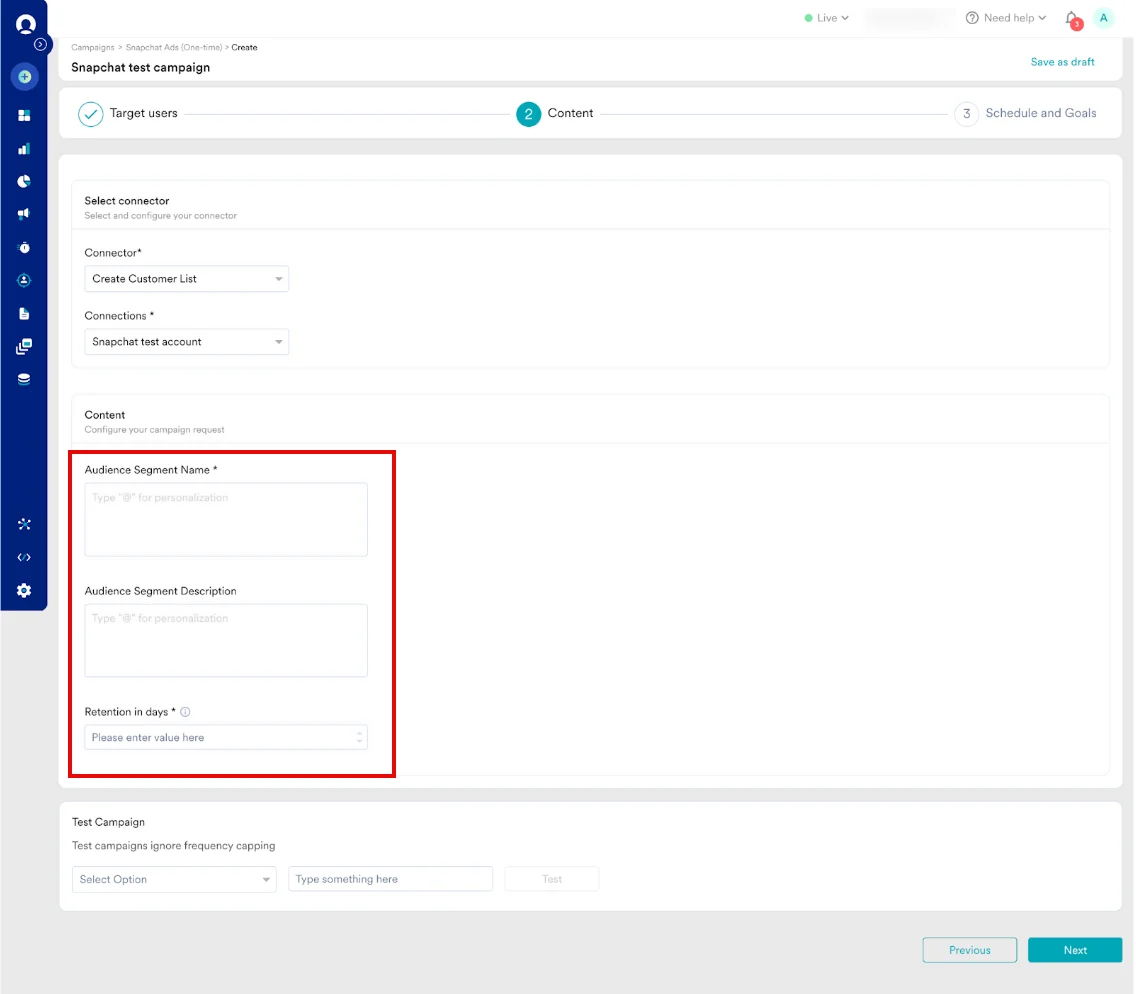
To create a new Audience on Snapchat, you can use the Create Customer list connector and perform the following steps:
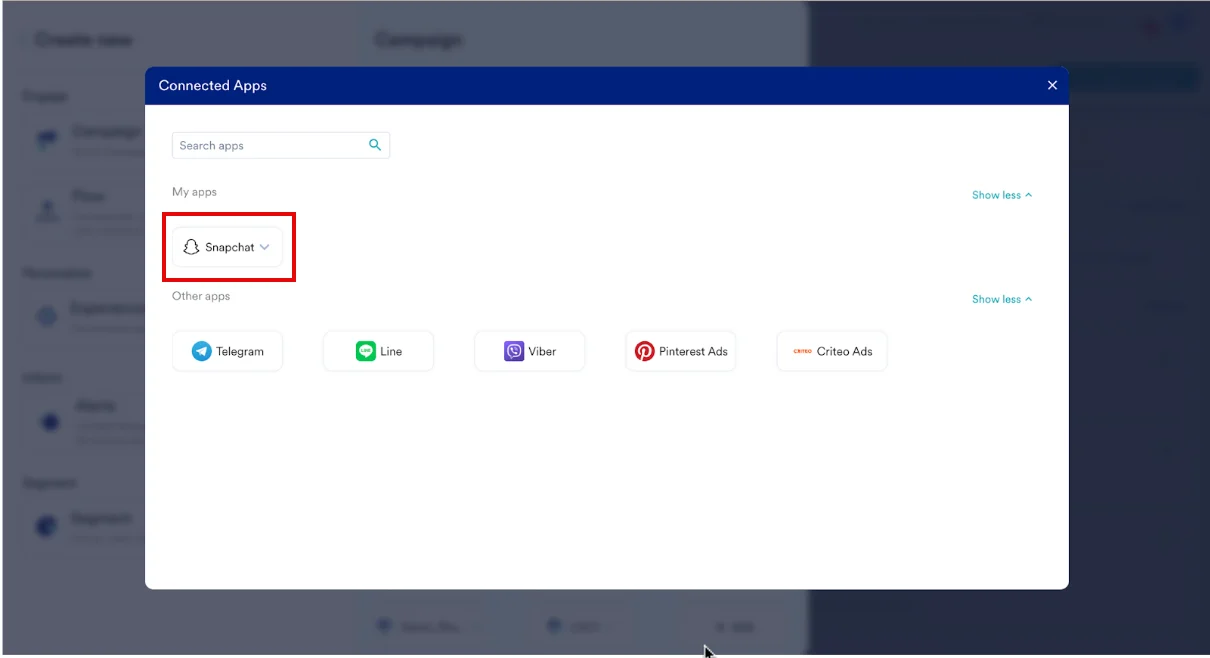
Select the Create a customer list connector and the connection you created.
Enter the Audience Name and other required details.
Run a test campaign and review the response. The highlighted ID is your Audience ID. Use it to add or remove users from this Audience. You can find this ID in Snapchat here.
Do not publish this campaign; it creates multiple audiences with the same name on Snapchat.
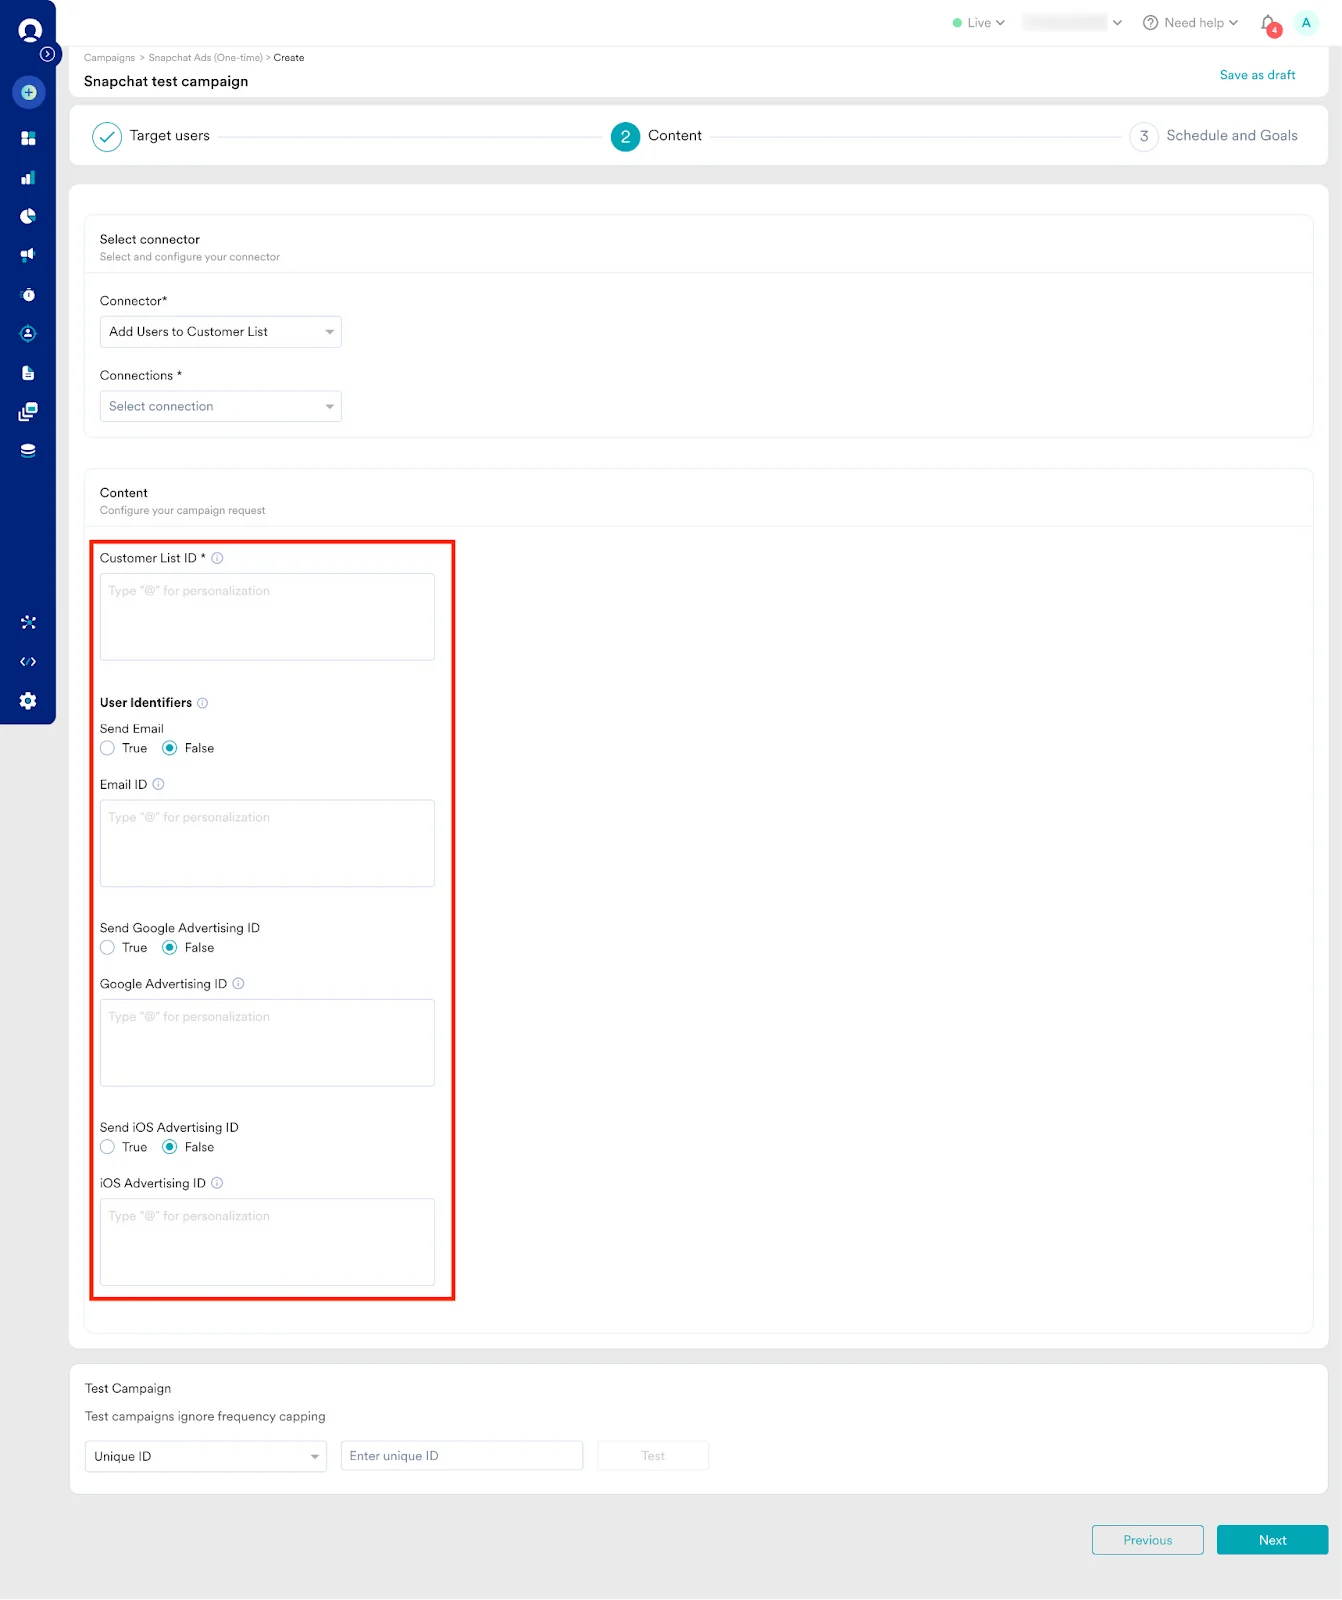
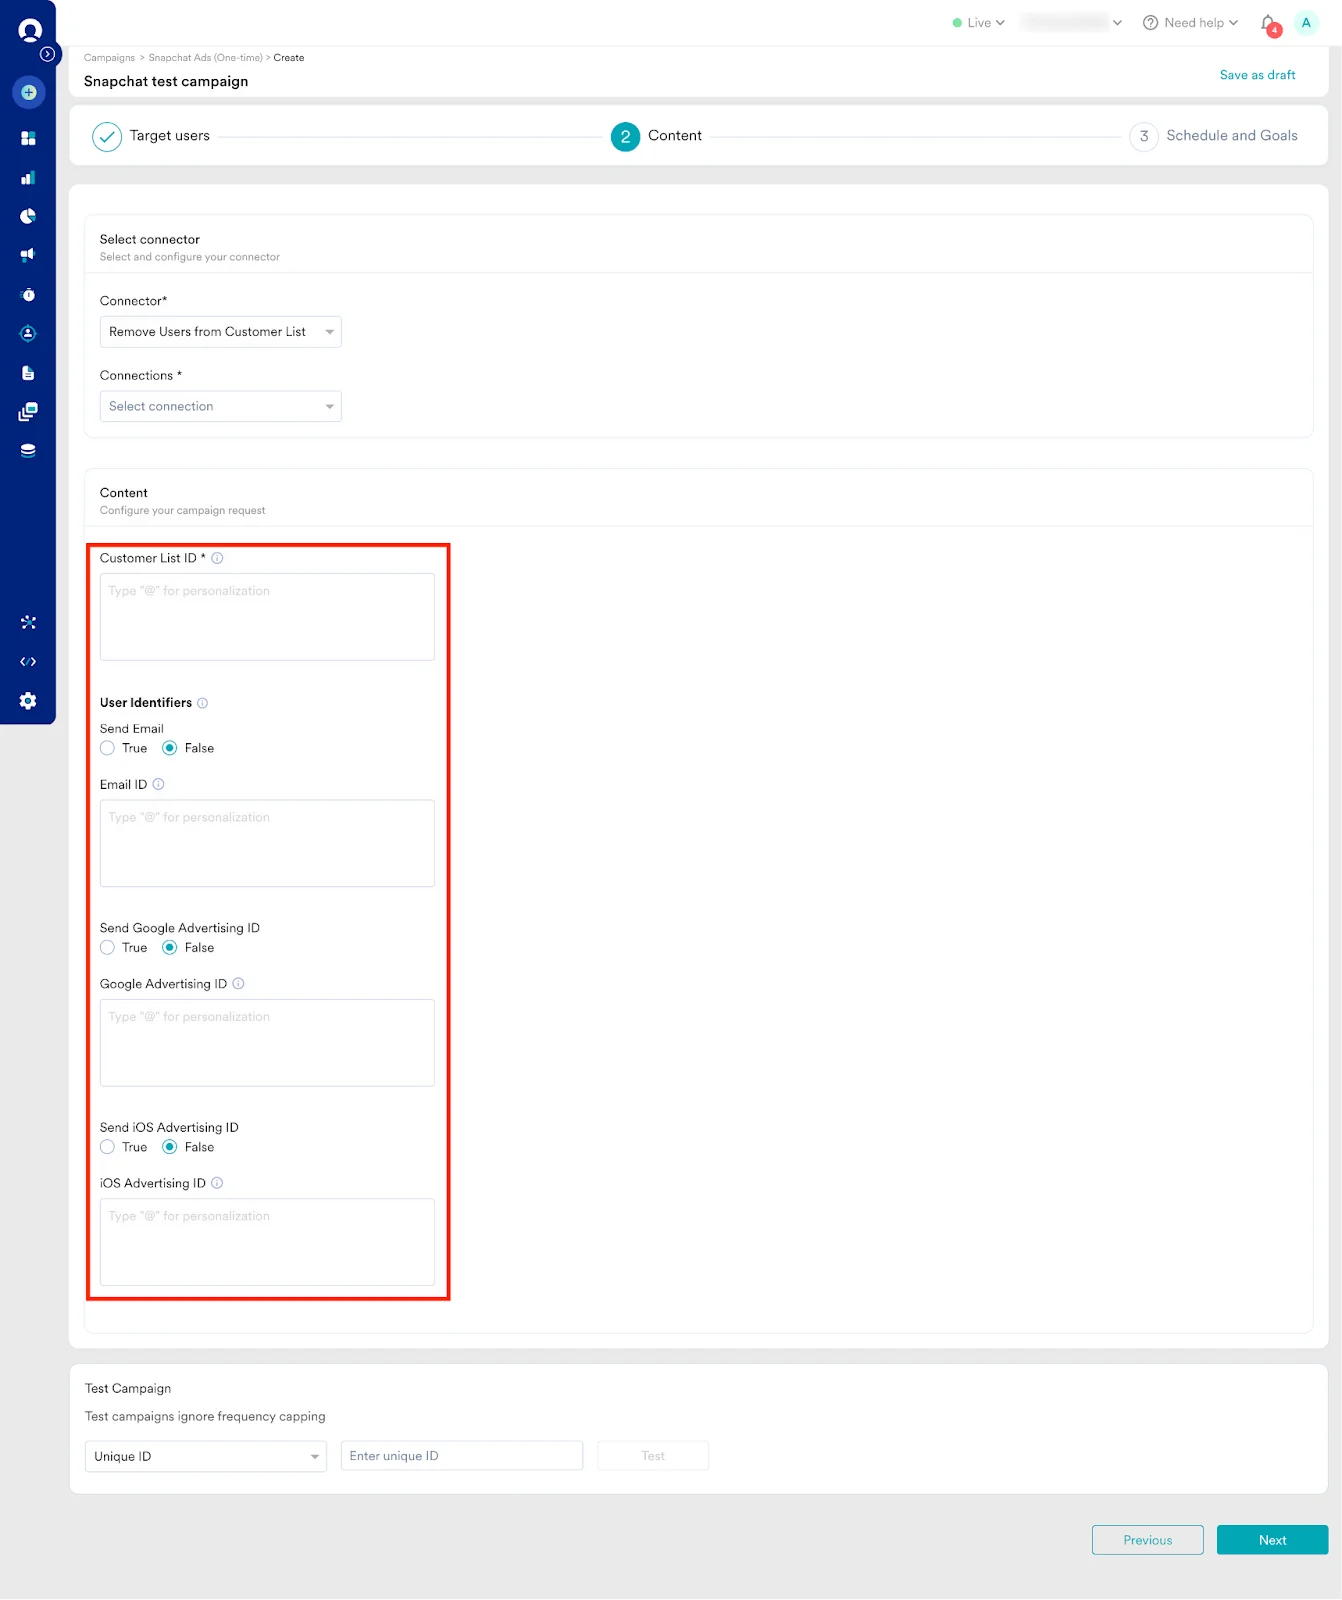
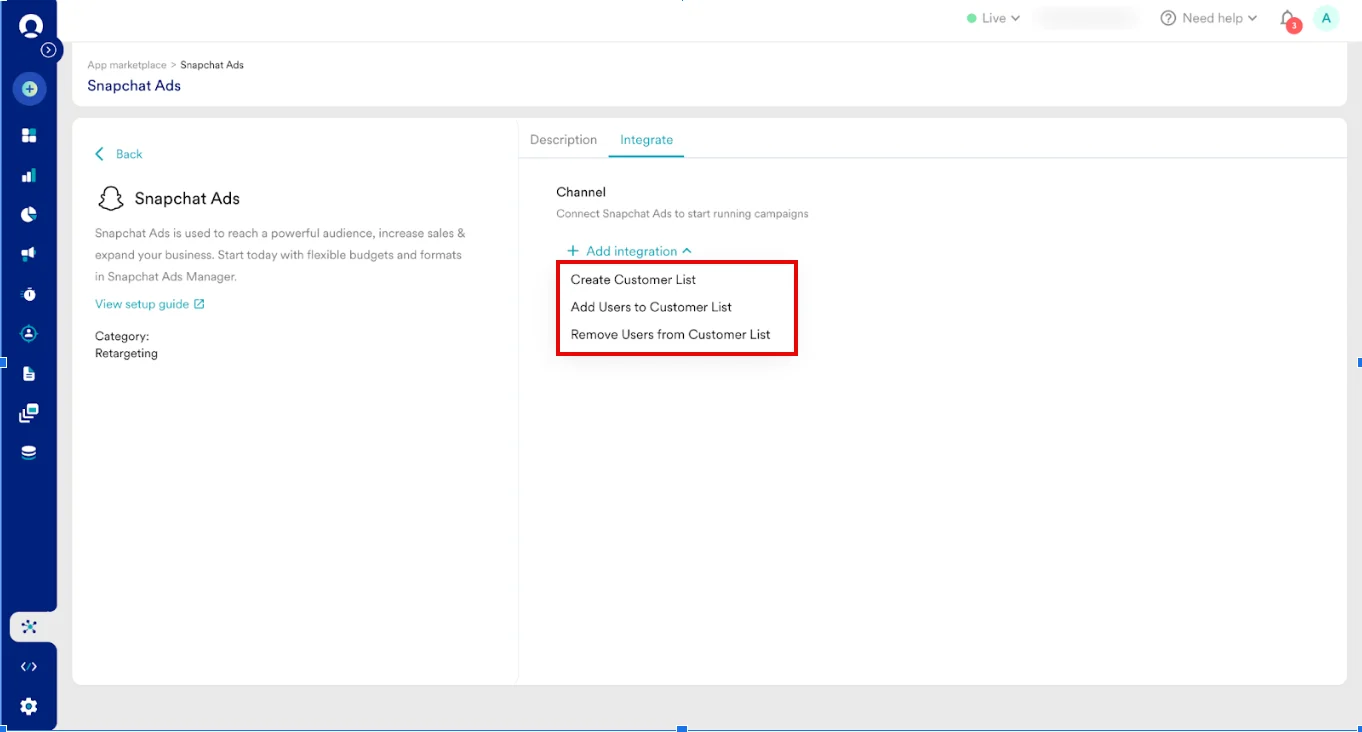
Based on the connector you select, you must provide the following information:
Create Customer List
Add Users to customer list
Remove Users from customer list
Field
Required
Description
Audience Segment Name
Yes
This is the name of your Audience Segment. This creates a new Customer List with the provided name.
Audience Segment Description
No
Give your Audience Segment a description.
Retention in days
Yes
Select the number of days to retain audience members. The default is lifetime (9999 days).
Field
Description
Customer List ID
This field specifies the ID of your Customer List.
Send Email
You must select this option to send email identifiers to Snapchat. If this option is not selected, no email identifiers will be sent, regardless of whether any values are entered.
Email ID
Type @ and select the user attribute that contains the Email identifier. By default, you can use “Email (Standard)”. Leave this blank if you do not want to forward this identifier.
Send Google Advertising ID
Select this option if you want to forward Google Advertising identifiers to Snapchat. Not selecting this option will not forward any identifiers, even if the value is added in the “Google Advertiser ID” field below.
Google Advertiser ID
Type @ and select the user attribute that contains the Google Advertising Identifier. By default, you can use “Google Advertising ID (Android)”. Leave this blank if you do not want to forward this identifier.
Send iOS Advertising ID
Select this option if you want to forward iOS Advertising identifiers to Snapchat. Not selecting this option will not forward any identifiers, even if the value is added in the “iOS Advertiser ID” field below.
iOS Advertising ID
Type @ and select the user attribute that contains the iOS Advertising Identifier. By default, you can use “Advertising Identifier (iOS & Windows)”. Leave this blank if you do not want to forward this identifier.
We do not currently support matching users using Mobile Number identifiers.
Field
Description
Customer List ID
This field specifies the ID of your Customer List.
Send Email
Select this option if you want to forward Email identifiers to Snapchat. If this option is not selected, no Email identifiers will be forwarded, regardless of whether any values are entered.
Email ID
Type @ and select the user attribute that contains Email Identifier. By default, you can use “Email (Standard)”. Leave this blank if you do not want to forward this identifier.
Send Google Advertising ID
Select this option if you want to forward Google Advertising identifiers to Snapchat. Not selecting this option will not forward any identifiers, even if the value is added in the “Google Advertiser ID” field below.
Google Advertiser ID
Type @ and select the user attribute that contains the Google Advertising Identifier. By default, you can use “Google Advertising ID (Android)”. Leave this blank if you do not want to forward this identifier.
Send iOS Advertising ID
Select this option if you want to forward iOS Advertising identifiers to Snapchat. Not selecting this option will not forward any identifiers, even if the value is added in the “iOS Advertiser ID” field below.
iOS Advertising ID
Type @ and select the user attribute that contains the iOS Advertising Identifier. By default, you can use “Advertising Identifier (iOS & Windows)”. Leave this blank if you do not want to forward this identifier.
MoEngage currently do not support matching users with mobile number identifiers.
Your campaign is now ready to be tested and sent to your audience. Using the Test functionality, you can also test your connector configuration.
If your test user successfully receives the message, your setup is ready.
Publish the campaign. Note : If you’re creating a new audience, do not publish the campaign.


 arrow and then select one of the following options:



 The highlighted ID is your Audience ID. Use it to add or remove users from this Audience. You can find this ID in Snapchat here.